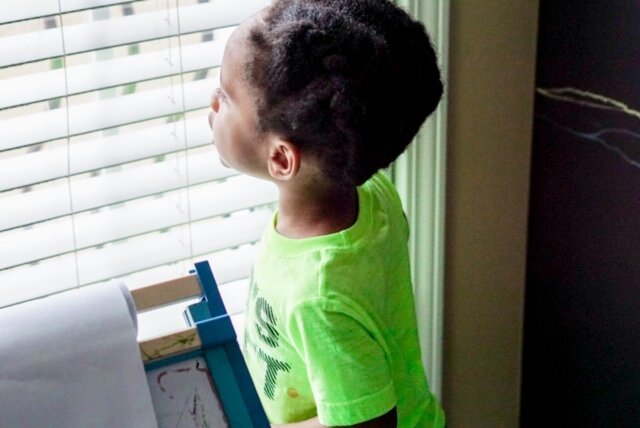
How to Make the Perfect Chalkboard for Kids
I’ve learned quickly as a mother that managing at toddler is a tough task. There’s potty training, maintaining schedules to make sure they’re balanced, the introduction of extra curricular activities like sports, and even coming up with arts and crafts for their age! You know little ones love to draw and write on walls, so what better than to make a chalkboard for them. In this post, I’m going to let you know how you can make the perfect chalkboard for kids using any wall in your home. It’s cheap, easy, fun, and is gonna give your little the best time of their life while making art on a chalk board.
Learn how to make the perfect chalkboard for kids!
Items You’ll Need to make a chalkboard for kids include:
Chalkboard paint (enough for the size of wall you’re painting)
A sander
A paint roller
A small to medium sized paint brush
A paint tray
Painter’s tape
Cardboard or trash bags (or anything else on hand to protect your floor
Plastic wood, or any kind of spackle to cover holes (if needed)
A wall sander
To make the perfect chalk board for kids, I purchased all of my items from a home improvement store, and that’s the best place to find every item on the list. All in all, I spent about $50 - so not bad at all for this DIY project.
SHOP THE POST!
To get started on making the perfect chalk board for kids, make sure the wall is clean, smooth, and ready to go!
Prep Time: 5 minutes
DIY Activity Time: 20 minutes (for 1/3 of a wall, which is plenty for a toddler, more time for a larger area)
Drying time: 1 - 2 hours depending on number of coats and chalkboard paint
Instructions to make a chalkboard for kids!
Remove any nails, if needed and use plastic wood to fill and cover holes. Allow ample time to dry.
Sand the wall to smooth areas where plastic wood was applied, and remove any dirt or debris. Clean off baseboards where sanding particles dropped.
Apply painter’s tape closely to edges of wall.
Pour paint into paint tray, and coat paint roller with paint. Begin rolling away.
Determine if one or two coats of paint are needed.
Allow paint to fully dry! (check the the appropriate drying time required between coats).
Test a small section of the newly painted chalkboard for kids with chalk, then erase. Make any adjustments to your paint by adding more if needed.
Clean up materials.
You’re all done!
These are the easy and simple steps I took to make the perfect chalkboard for my little guy. If you want to make it fancier, check out a magnetic primer to paint onto the wall before your chalkboard paint and create a magnetic chalkboard!
CHECK OUT THE YOUTUBE VIDEO HERE!
I hope you loved this DIY on how to make the perfect chalkboard for kids. If you have questions or try it out for yourself, send me a DM and let’s chat! I’d love to hear from you.
If you love this post, please share the love by PINNING it!
SMOOCHES!
Onteria


